

Wiki & Guides
Palworld
Survival · Monster Taming · Pocketpair
Creating and Setting Up a Palworld Server
Step by step: order a Palworld server at RespawnHost, choose a billing model, set the basics and connect to your server.
Last updated September 9, 2026 · RespawnHost
On this page
Creating a Palworld server at RespawnHost
This guide takes you from ordering to your first login on your own Palworld server. It takes under 5 minutes — the server itself is online in under 90 seconds.
Requirements
- A RespawnHost account — register here
- Balance on your account (prepaid system, top up e.g. via PayPal or credit card)
- Palworld on Steam, Xbox, PlayStation 5 or Game Pass
Step 1: Start your order
- Open the Palworld order page (or go via respawnhost.com/en/palworld-server-hosting and hit Get your server).
- Log in if you haven’t already.
Step 2: Choose a billing model
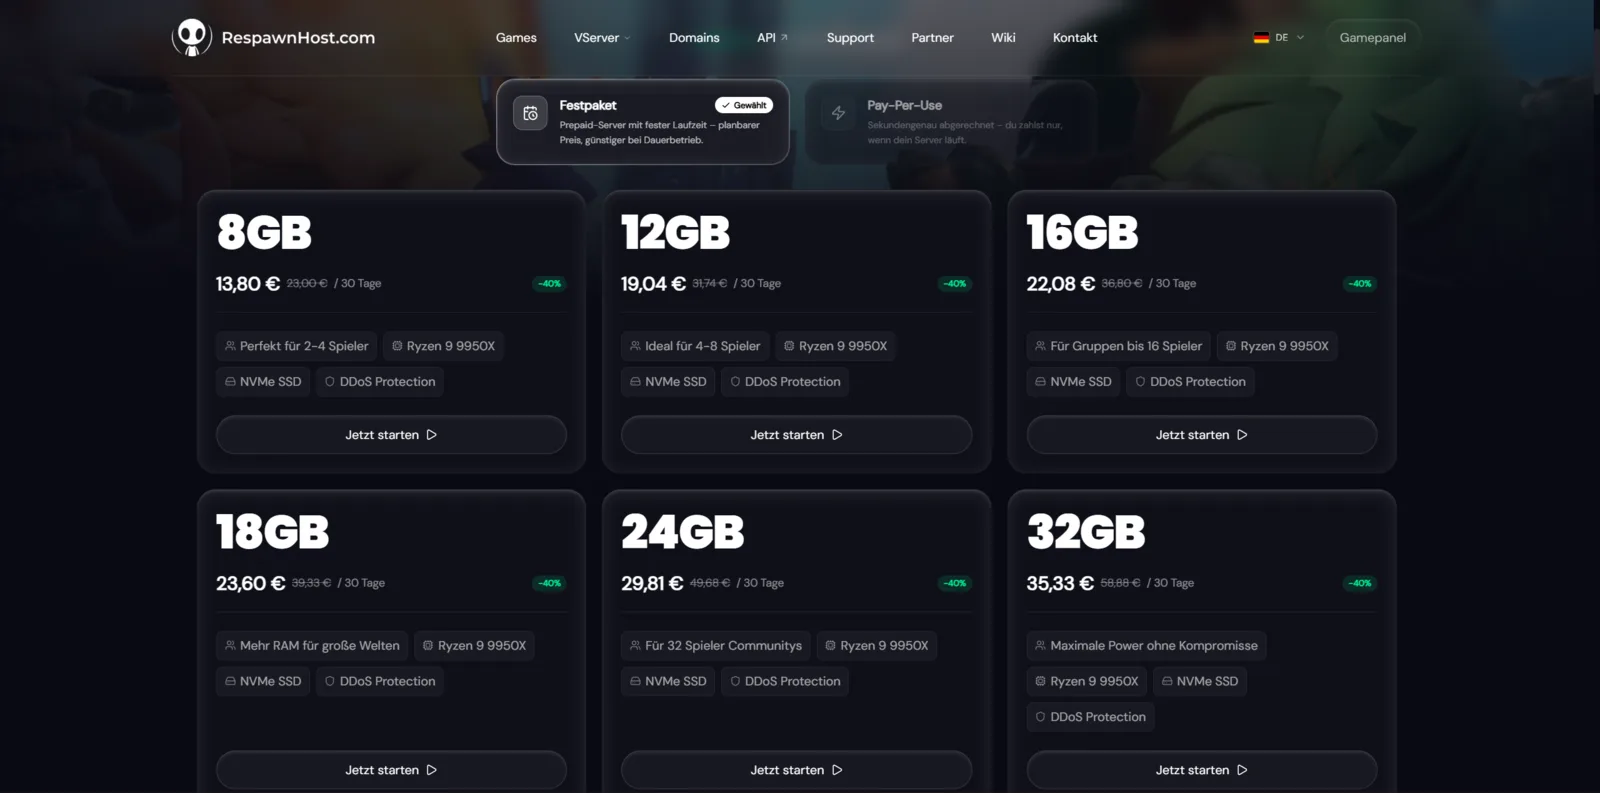
RespawnHost offers two models — you pick during checkout:
| Model | How it works | Best for |
|---|---|---|
| Prepaid plan | Fixed price for a term (1, 3, 6 or 12 months — 1 month = 30 days), paid upfront from your balance. 3 months: −10%, 6 months: −15%, 12 months: −20%. | 24/7 operation, communities |
| Pay-Per-Use | Billed by the second — you only pay while the server is running. Server off = no costs. | Casual sessions, weekend runs |
Step 3: Choose package and location
- Package: Pick by group size — for 2–4 players the entry package (8 GB RAM) is enough; bigger guilds go for 12–16 GB or more. See Which Palworld package is right for me? for details.
- Location: Germany (Frankfurt) for Europe, USA (Salt Lake City and Charlotte) for North America or India (Noida) for India and South Asia. Pick whatever is closest to you and your players.
Complete the order — the server installs automatically and is ready in under 90 seconds.
Step 4: Set the basics
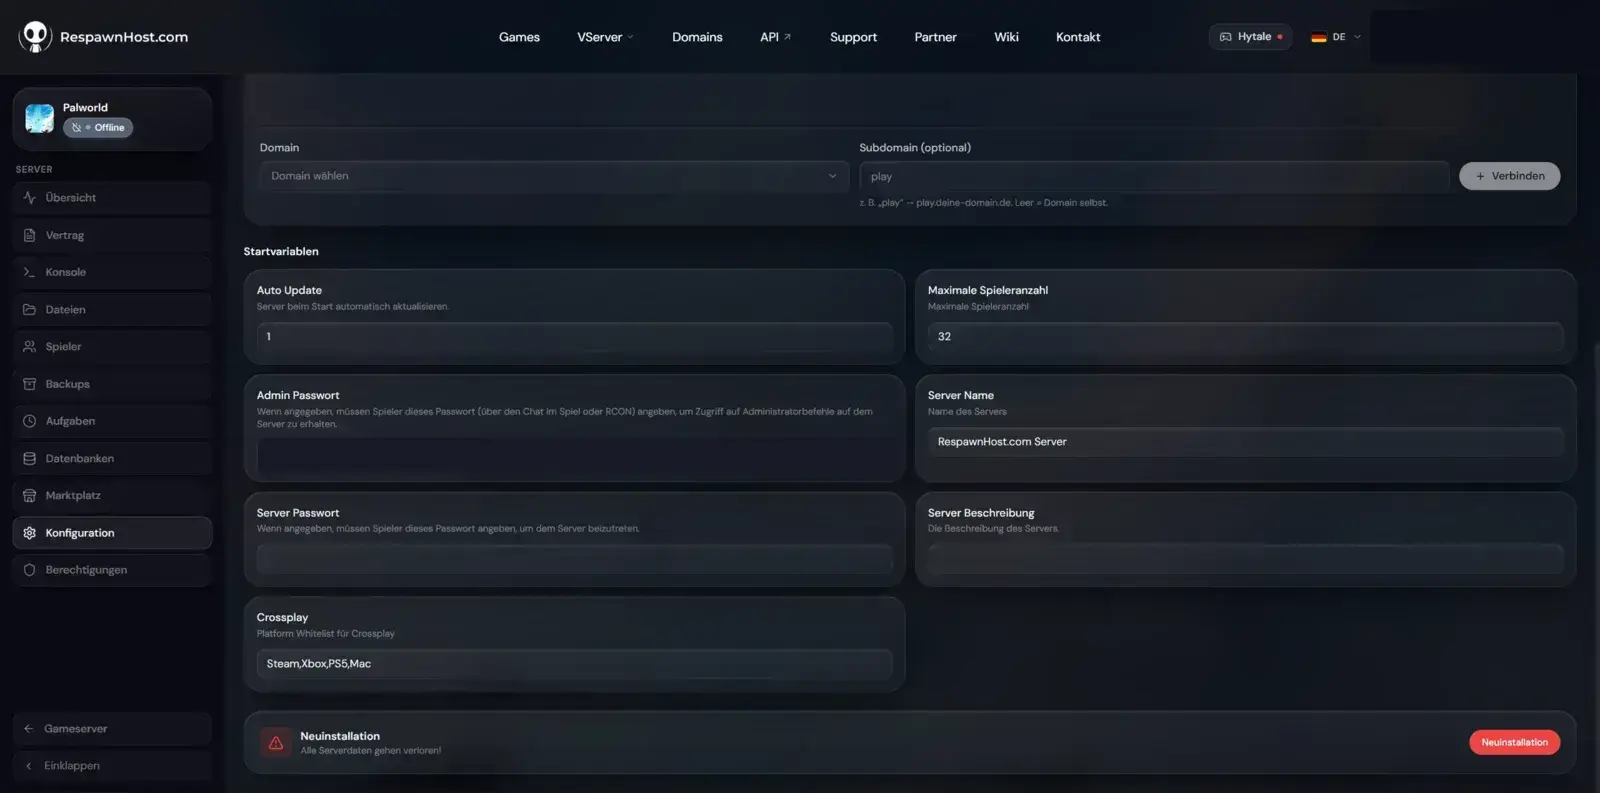
In the panel you’ll find your server’s startup variables:
| Setting | Meaning |
|---|---|
| Server Name | Name in the server browser. Pick something memorable — console players can only find you via search! |
| Server Description | Short description in the browser (optional, max. 128 characters) |
| Server Password | If set, only players with the password can join (letters, numbers, - and _) |
| Admin Password | Required — used to get admin rights in-game (see below) |
| Max Players | 1–32 players |
| Crossplay | Allowed platforms, default: Steam,Xbox,PS5,Mac (all) |
| Auto Update | Updates the server automatically on every start (recommended: on) |
All gameplay rules (XP rate, capture rate, death penalty, egg hatching …) are set comfortably in the config editor — see Configuring your Palworld server.
Step 5: Start and connect
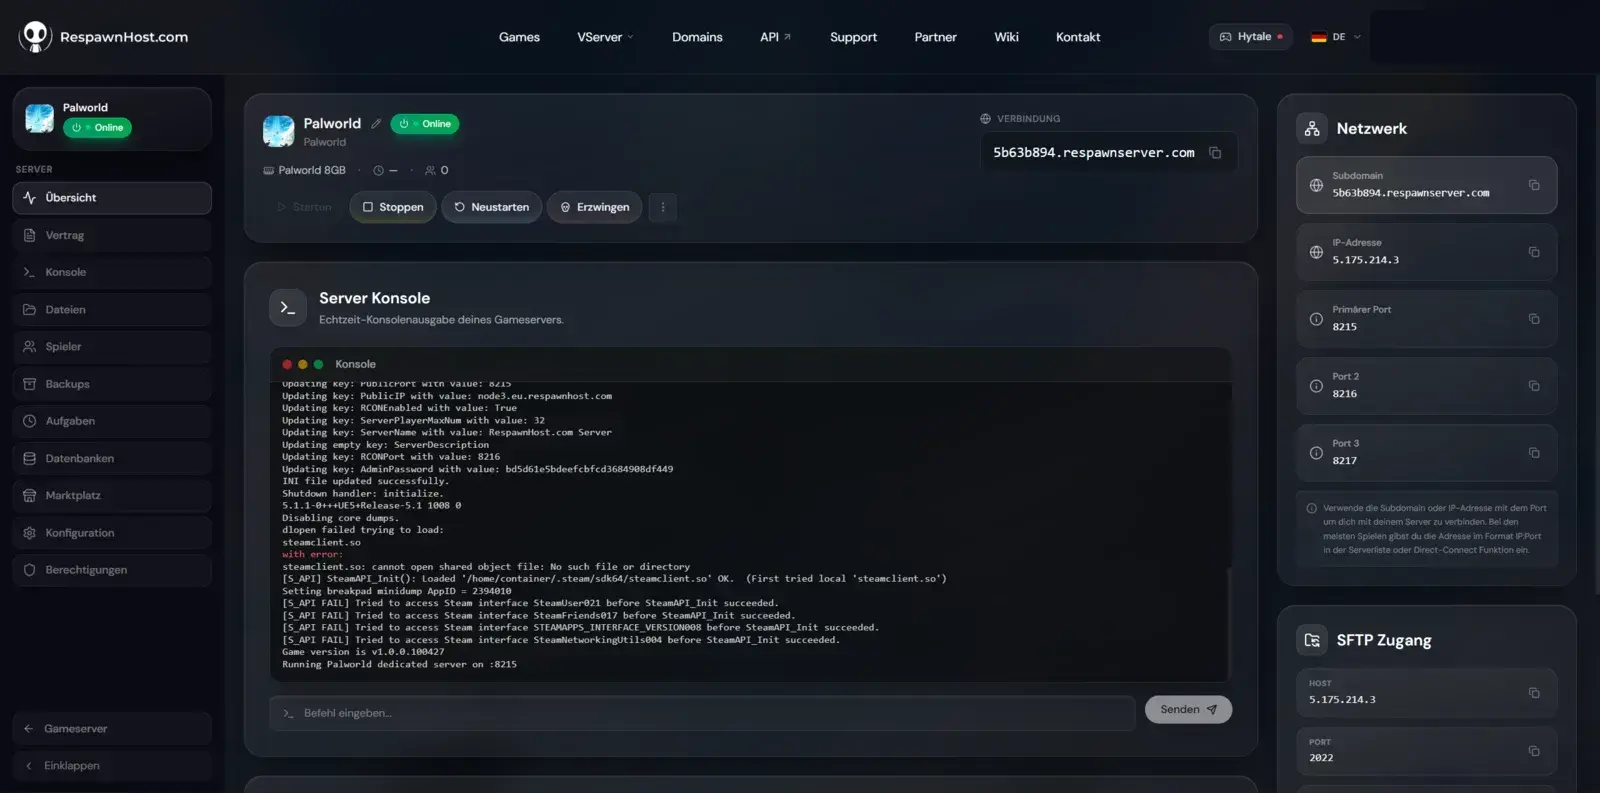
- Hit Start in the panel. After a short moment the status shows “Online”.
Becoming admin
Open the in-game chat (Enter) and type:
/AdminPassword YOURPASSWORDUsing the admin password from step 4 grants you admin rights and access to server commands.
Good to know
Note
New Palworld versions install automatically on the next server restart. The panel's file manager (or SFTP) gives you full access to all server files at any time.
Tip
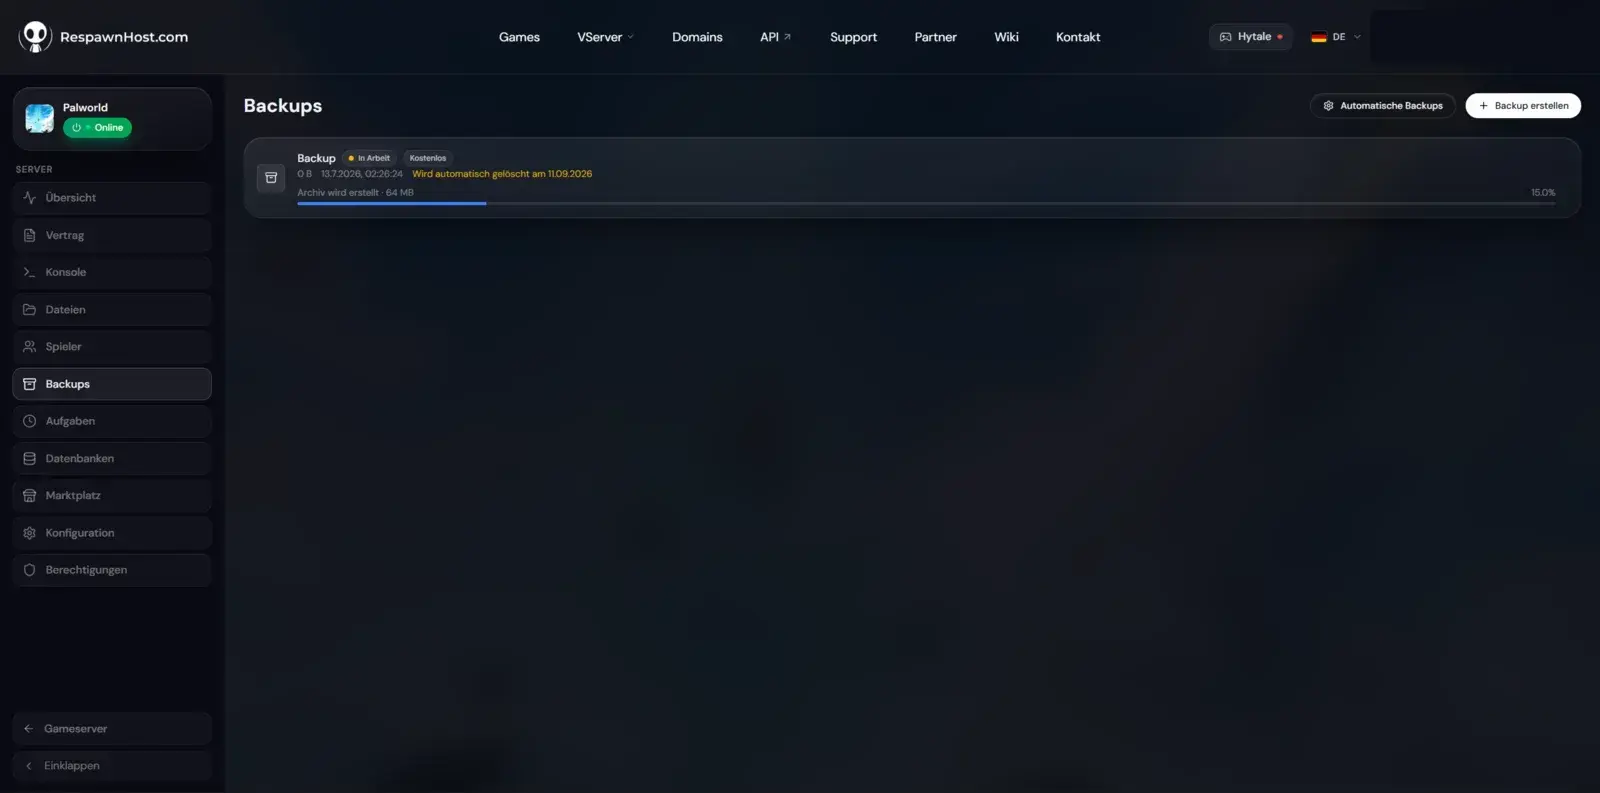
Set up automatic backups in the panel — always a good idea before bigger changes (config, mods, save import).
Next steps
- Configuring your Palworld server — XP rates, death penalty, hatching times & more
- Which package is right for me? — RAM recommendations by group size
- Installing Palworld Mods — PAK mods from CurseForge
Your own Palworld server?
At 3 hours a day that is about €6.90 a month. Billed by the second: server off, costs off.
- No subscription, no minimum term
- Balance does not expire while your account exists
- Online in under 90 seconds