Wiki & Guides
Rust
Survival · Open World PvP · Facepunch Studios
Creating and Setting Up a Rust Server
Step by step: order a Rust server at RespawnHost, choose a billing model, set the basics and connect via client.connect.
Last updated September 9, 2026 · RespawnHost
On this page
Creating a Rust server at RespawnHost
This guide takes you from ordering to your first login on your own Rust server. The server itself is online in under 90 seconds — only the first map generation needs a little patience afterwards.
Requirements
- A RespawnHost account — register here
- Credit on the account (prepaid system, top up e.g. via PayPal or credit card)
- Rust on Steam (PC or Mac)
Important: no consoles
Rust Console Edition (PS4/Xbox, developed by Double Eleven) is a technically separate game — there is no crossplay between PC and console. Only Steam players can join a PC dedicated server.
Step 1: Start your order
- Open the Rust order page (or go via respawnhost.com/en/rust-server-hosting and click Get your server).
- Log in if you haven’t already.
Step 2: Choose a billing model
RespawnHost offers two models — you pick during checkout:
| Model | How it works | Ideal for |
|---|---|---|
| Prepaid plan | Fixed price for a term (1, 3, 6 or 12 months — 1 month = 30 days), paid upfront from your credit. 3 months: −10 %, 6 months: −15 %, 12 months: −20 %. | 24/7 operation, communities |
| Pay-per-use | Billed by the second — it only costs while the server is running. Server off = no costs. | Casual sessions, wipe weekends |
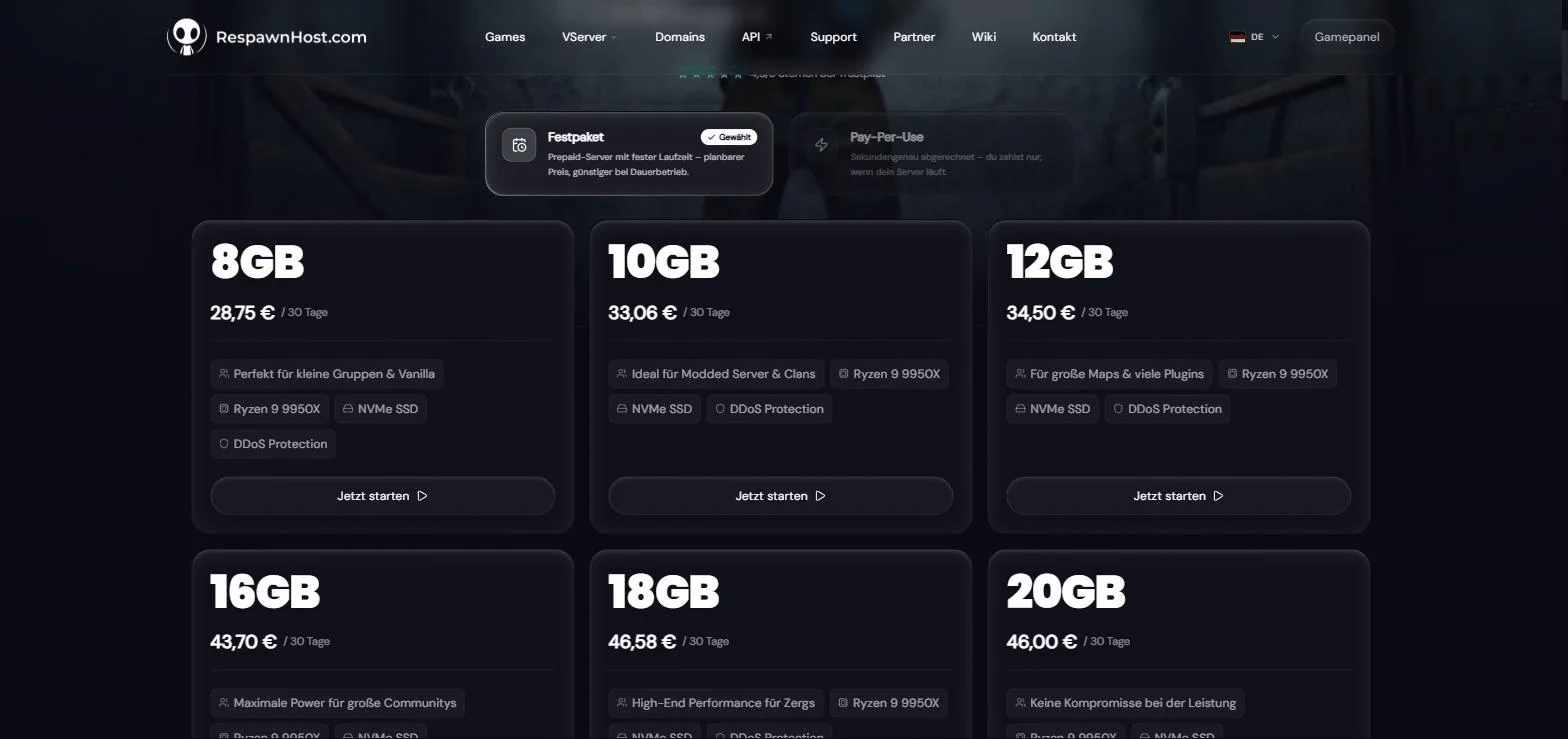
Step 3: Choose package and location
- Package: Choose by player count and planned map size — a small group is fine on the entry package (8 GB RAM), larger community servers go for 16–20 GB. Details in How much RAM does a Rust server need?
- Location: Germany (Frankfurt) for Europe, USA (Salt Lake City and Charlotte) for North America or India (Noida) for India and South Asia. Pick whichever is closest to you and your players.
Then complete the order — the server installs automatically and is ready in under 90 seconds.
Step 4: Set the basics
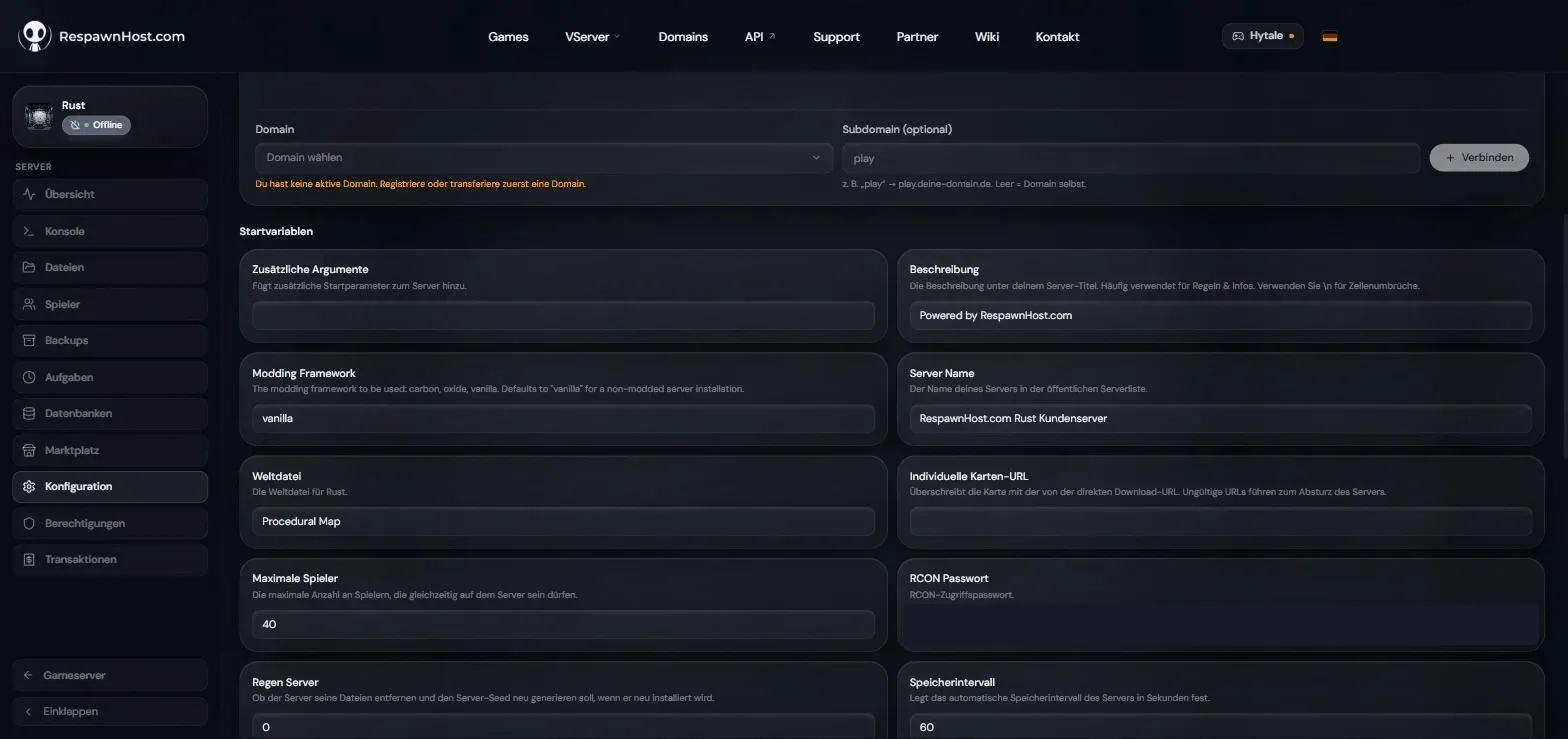
In the panel you’ll find your server’s startup variables under Configuration:
| Setting | Meaning |
|---|---|
Server Name (server.hostname) | Name in the server browser — pick something memorable |
World Size (server.worldsize) | 1000–6000, default 3000; 3000–4500 is typical. Bigger = more RAM |
World Seed (server.seed) | Determines the map layout — same seed + same size = same map |
Max Players (server.maxplayers) | Default 40, freely adjustable — slots are unlimited at RespawnHost |
| Description / Server Tags | Your appearance in the server browser (\n for line breaks) |
| Modding Framework | vanilla (default), oxide or carbon — see the plugins guide |
All other gameplay rules (decay, PvE, game modes …) are covered in Configuring your Rust server.
Step 5: Start the server and connect
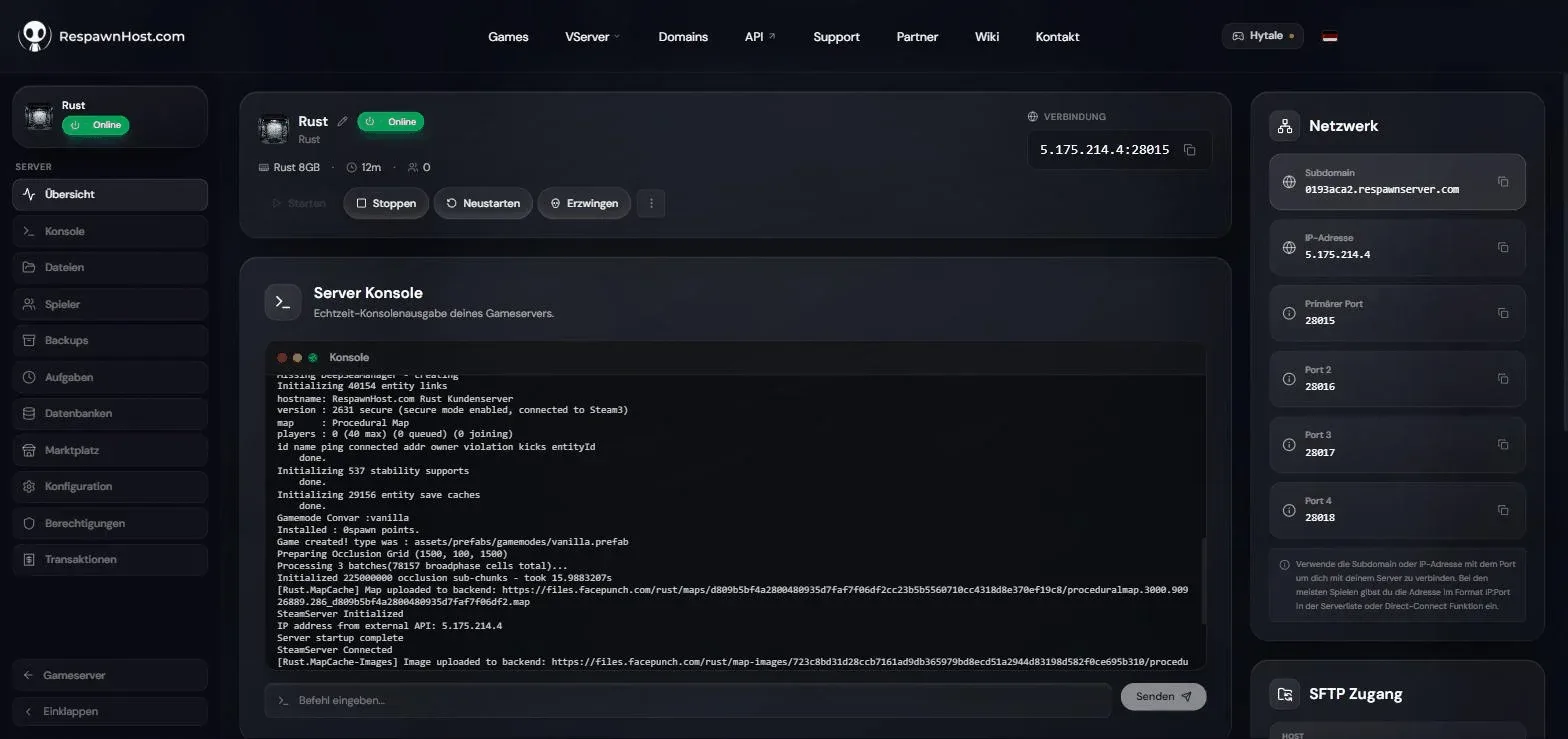
- Click Start in the panel. On the first start the server generates the procedural map — depending on map size and hardware this takes several minutes up to a quarter of an hour, very large 6000 maps even longer. Later starts (saved map) are much faster. Then the status shows “Online”.
client.connect YOUR-IP:28015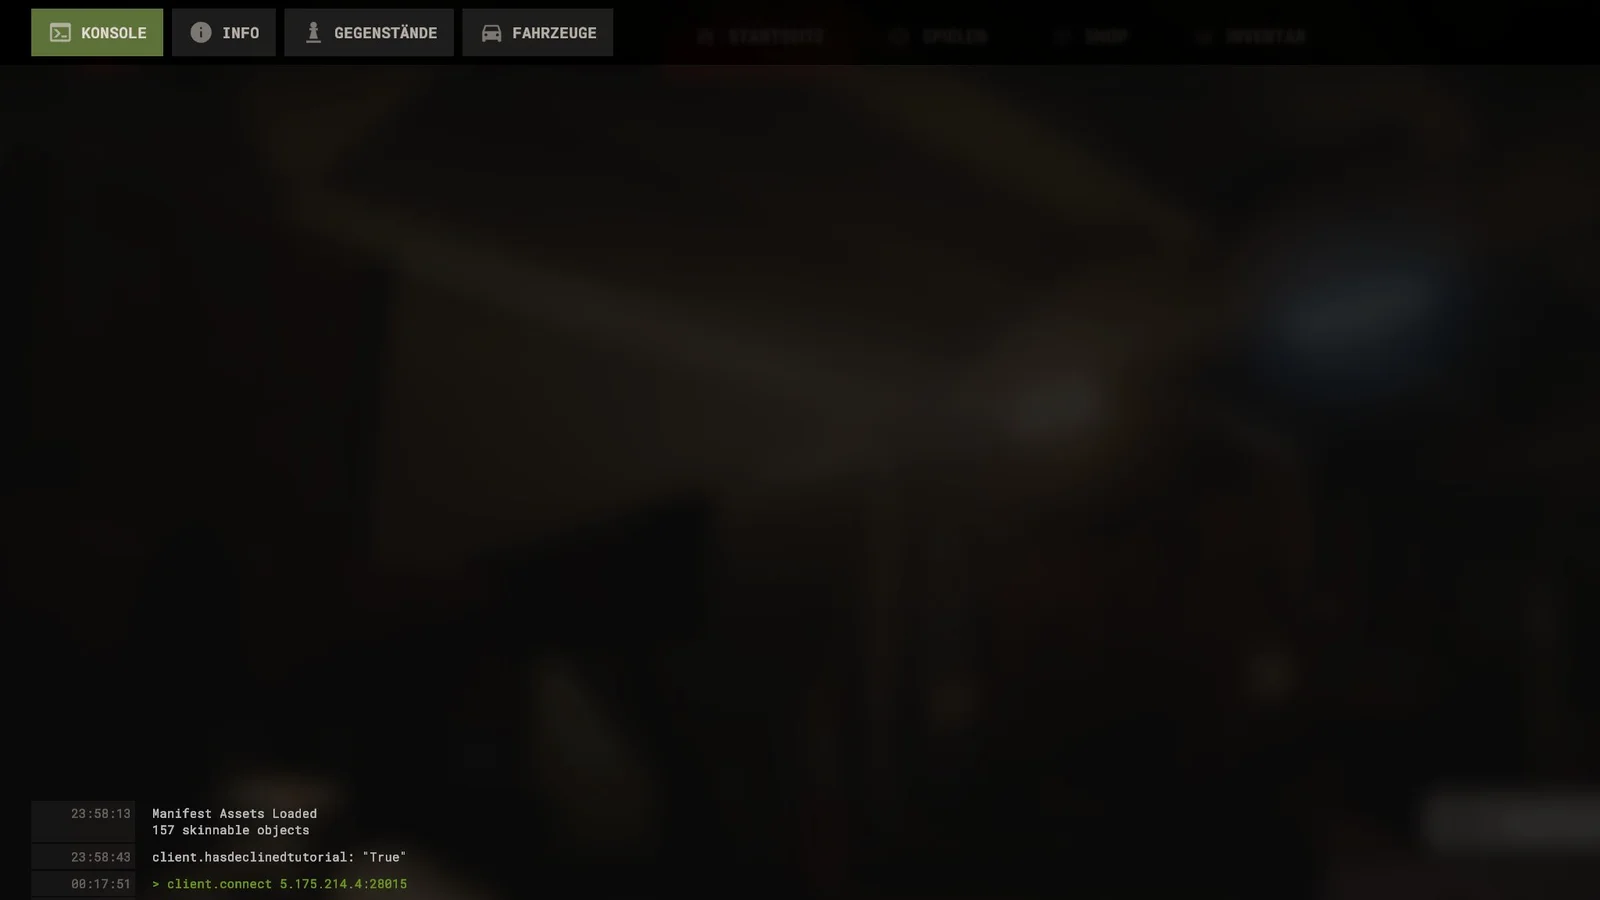
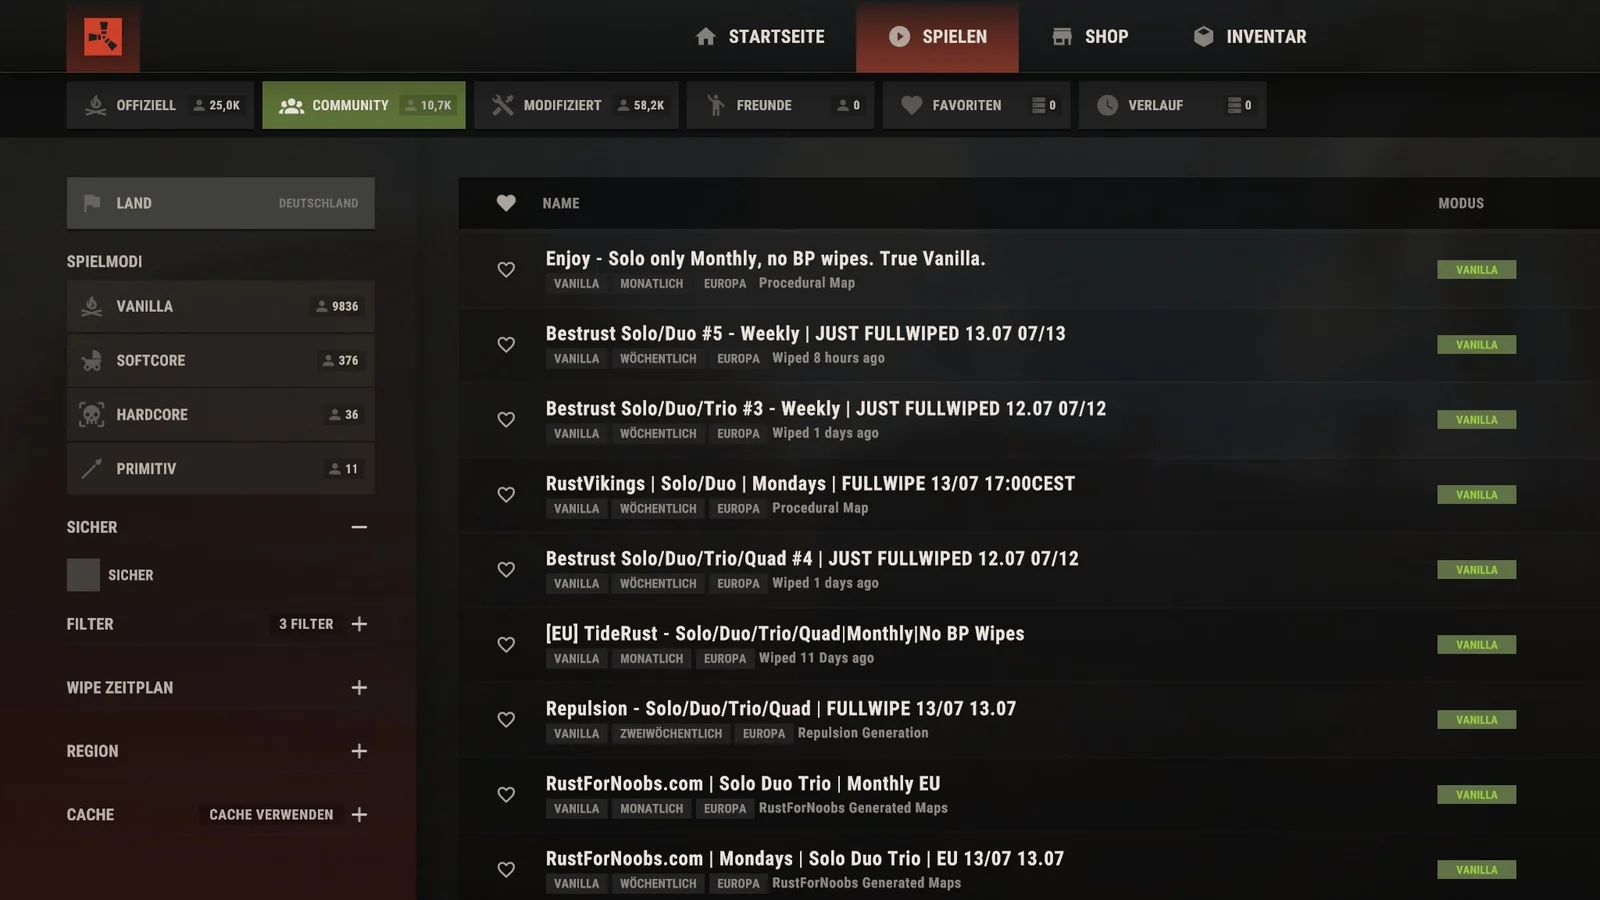
client.connect IP:port — hit enter and you're inYou’ll find IP and port in the panel. Alternatively, find your server in the in-game server browser under Community (or under Modded once Oxide is installed) — search for your server name.
Note
On first join your client downloads the map from the server — this can take a few minutes. After that it's cached locally and joining is quick.
Becoming admin
Rust admins are registered via their SteamID64. Run this in the server console in the panel:
ownerid YOUR-STEAMID64 "YourName"
server.writecfg
Then reconnect once (log out and rejoin). All details and the full command list: Rust admin commands.
Good to know
Wipes
Rust servers wipe regularly — on the first Thursday of each month, the monthly Facepunch update forces a map wipe on all servers. What that means and how to wipe yourself: Rust wipes explained.
Tip
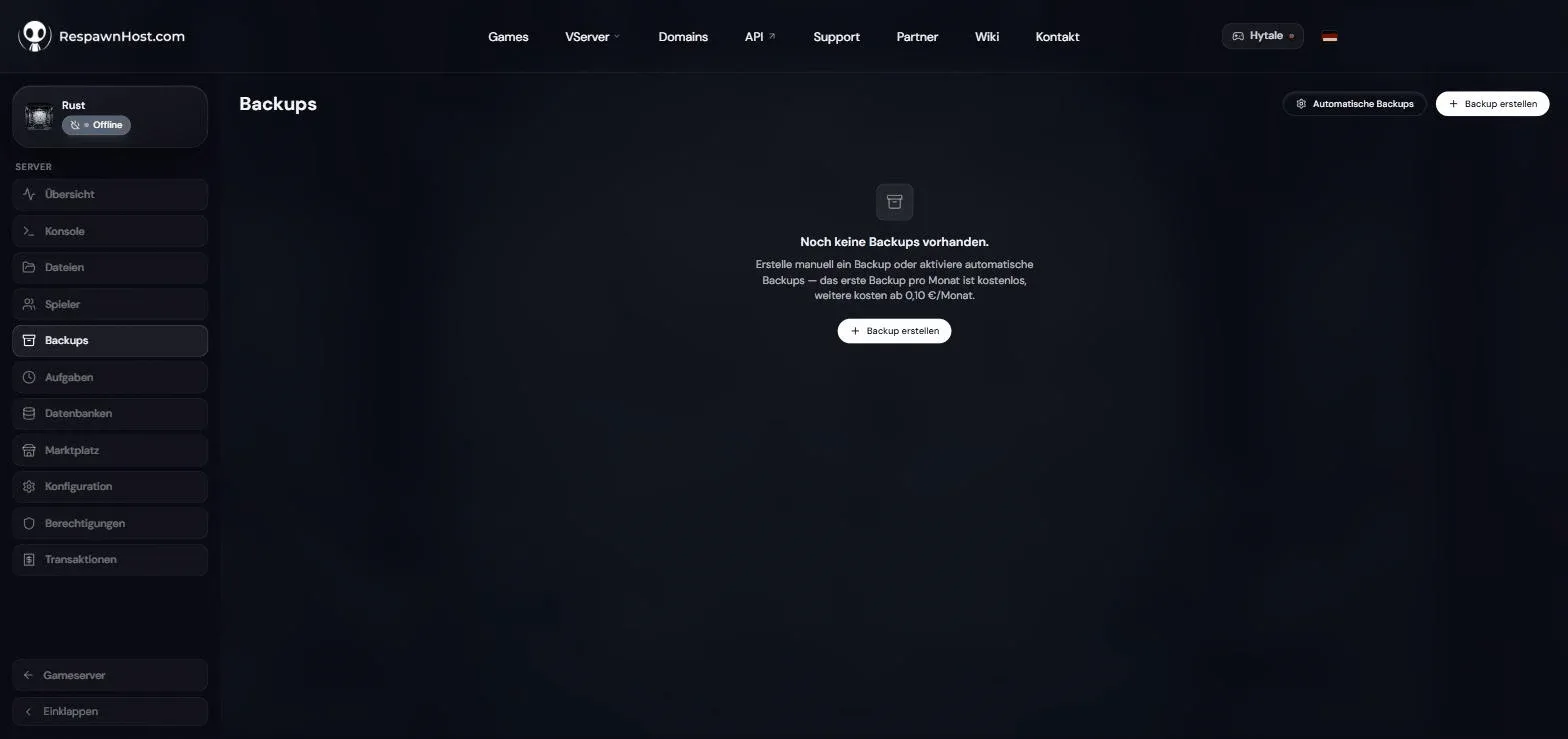
Set up automatic backups in the panel — especially before wipes, plugin experiments and configuration changes. The first backup each month is free.
Next steps
- Rent a Rust server — Pay-Per-Use, online in under 90 seconds
- Configuring your Rust server — server.cfg, convars, tags & game modes
- How much RAM do I need? — recommendations by player count and map size
- Installing plugins (Oxide/Carbon) — gather rates, kits, teleport & more
Your own Rust server?
At 3 hours a day that is about €8.63 a month. Billed by the second: server off, costs off.
- No subscription, no minimum term
- Balance does not expire while your account exists
- Online in under 90 seconds